Custom Search
|
|
|---|
|
|
|---|
|
|
|---|
|
Custom Search
|
|
|---|
Recommended for developers:

![]()
Lesser Goldfinch family preening
![]()
LCD Vs. CRT - Do LCDs finally match CRTs in picture quality?
ECS P965T-A Motherboard
ABIT AN8 SLI Motherboard
Foxconn 975X7AB-8EKRS2H Motherboard
Foxconn BlackOps Motherboard
![]()
My misadventures flying with Allegiant Air
![]()
The Missing Post Mystery
A post I made to a Vista newsgroup was missing from the Outlook newsreader
Where did it go?
The Missing Post Mystery Revisited
It happened again! A post I made to a Vista newsgroup was missing from the Vista Mail newsreader
Where did it go?
A Case of Maxtaken Identity
When is a hard drive not a hard drive? Find out when!
![]()
Changes to the Windows 7 Taskbar You Should Know About
Vista Image Capture 'Slipstream' SP1 and SP2 into a single Vista install disc
Detailed Instructions for Reverse Integrating SP1 and SP2 into Vista
What is RAID? Some RAID Basics
RAID 5 on a Desktop PC
How to Personalize Windows Vista
Develop and Implement a Personal Backup Plan
Ten things you can do to create better documentation
(Tech Republic)
Flash Your BIOS
Three Good Reasons for Flashing Your BIOS
Ten common mistakes you should avoid when flashing your BIOS
(Tech Republic)
Find a new dial-up ISP
Sign up for 10 free hours of NetZero access!
Create a Shutdown/Sleep/Restart or Continue Icon For the Vista Desktop
What is a computer guy doing with home remodeling projects on his Website?
The Upscale Utility Room Remodel with Catch Basin and Wraparound Ceramic Tile Wall
The Bathroom Remodel for Under $1000 Project
The Do It Yourself Bedroom Engineered Prefinished Red Oak Wood Flooring Installation From Hell
Bedroom Remodel With Wood Parquet Flooring
Use Comodo Internet Security 4.0 to Lock Down Your PC Following a Windows Install or Reinstall
![]()
The Northstar Horizon Microcomputer
![]()
Round-Tailed Ground Squirrels

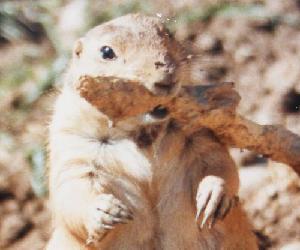
Prairie Dogs
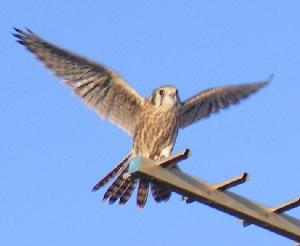
American Kestrel Falcons "Sparrow Hawk"
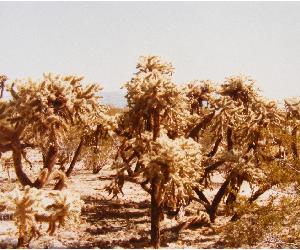
Arizona Sonoran Desert
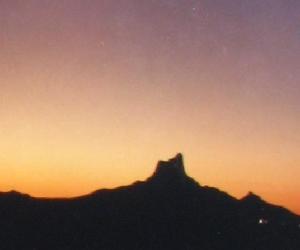
Arizona Sunsets
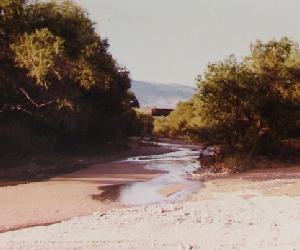
Cienega Creek
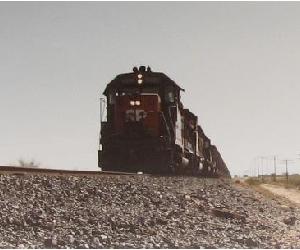
Trains In the Desert
Desert and Mountain Flowers
Fox Squirrels
![]()
The Other Reason Why Your Irrigation Valve Might be Leaking
My Response to the Newegg Affiliates Program Changes
Playing the Rebate Game
Know the Rules Before You Play
Vista Confusion
The four questions you need to ask before buying Vista

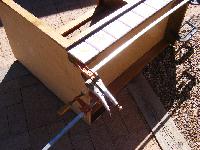
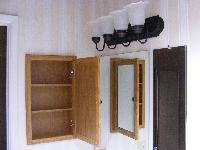
Click on thumbnail to see a larger image
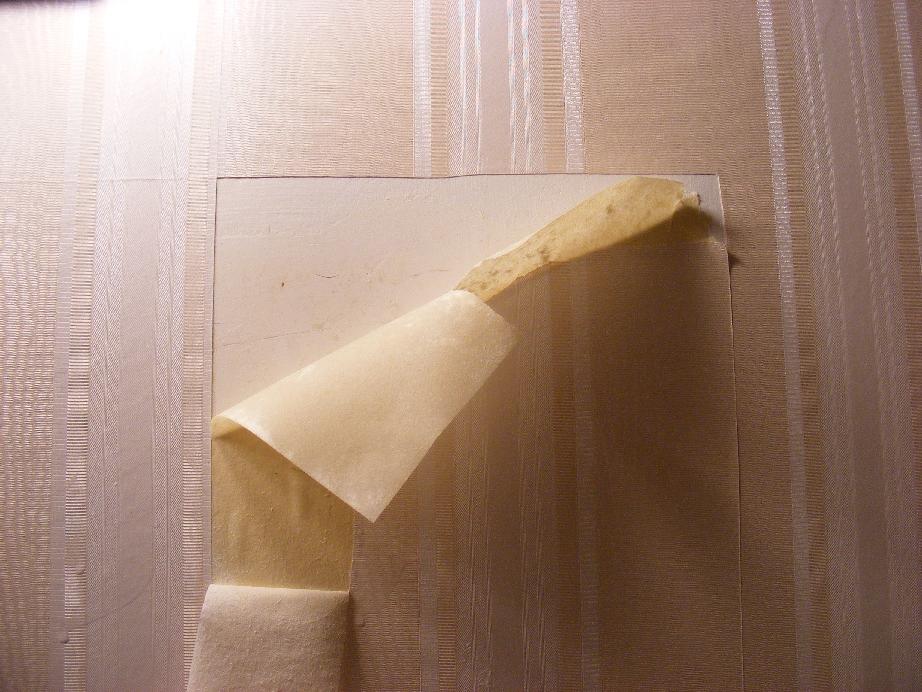

By sliding the slat back and forth and behind the mirror I was able to break it free. I had left the bottom metal clips in place so that the mirror wouldn't fall and I was careful to keep a hand on the front of the mirror to steady it and keep it from falling forward. I was lucky. The mirror came off with the mirror coating intact. I carefully set the heavy mirror out of the way and on some carpet to prevent damage to the bottom of the mirror.
My mirror project required some research before reinstallation. It is a heavy piece of glass and I didn't want it falling and injuring anybody. I had heard of people using Silicone based adhesives but decided to purchase a special mirror mastic that was designed for mirror installations. Any mastic has to have good adhesive properties and no acid base in order not to blacken the mirror.
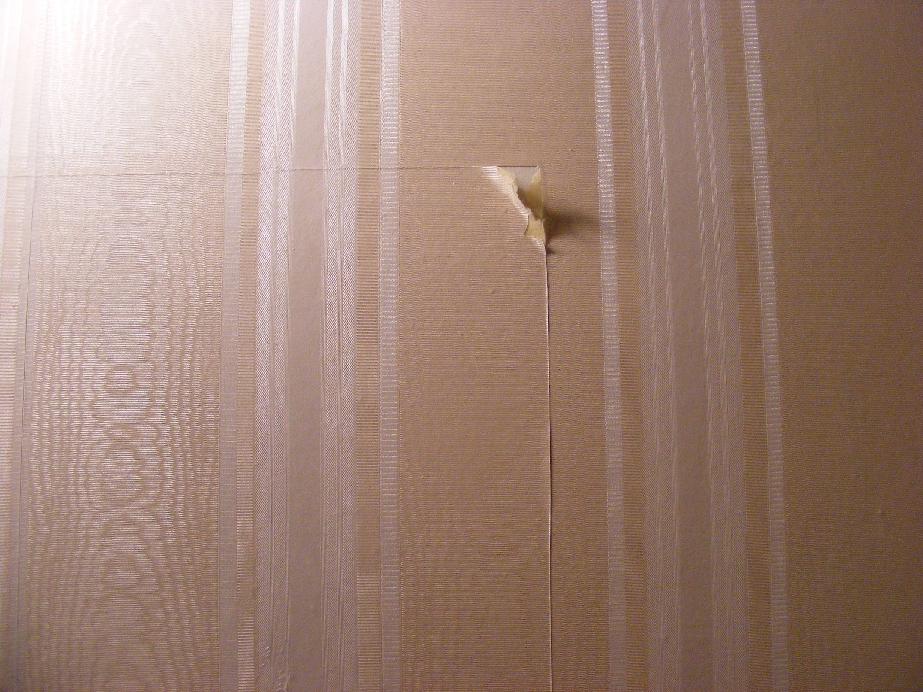
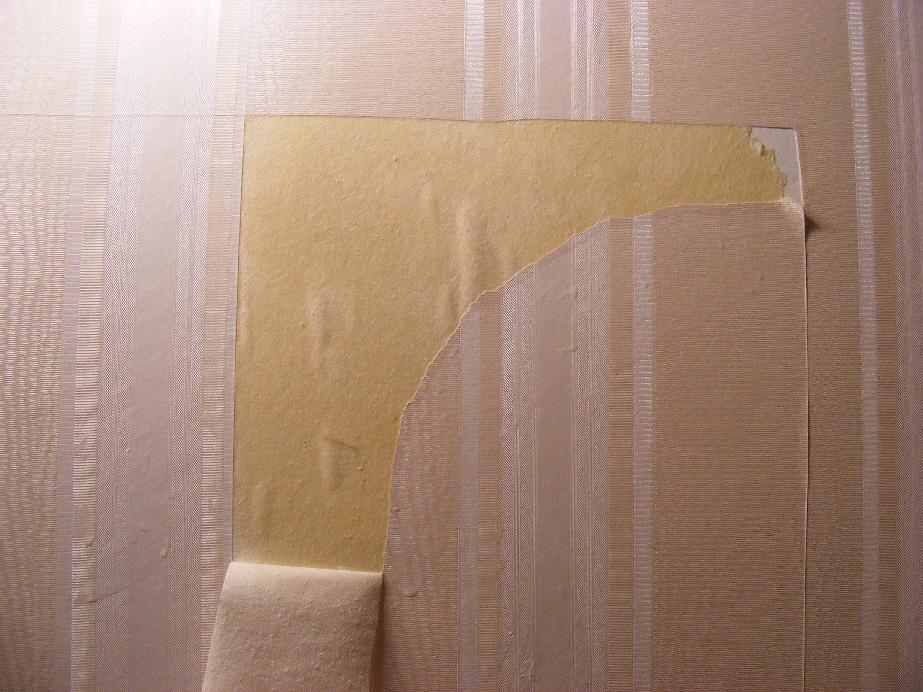
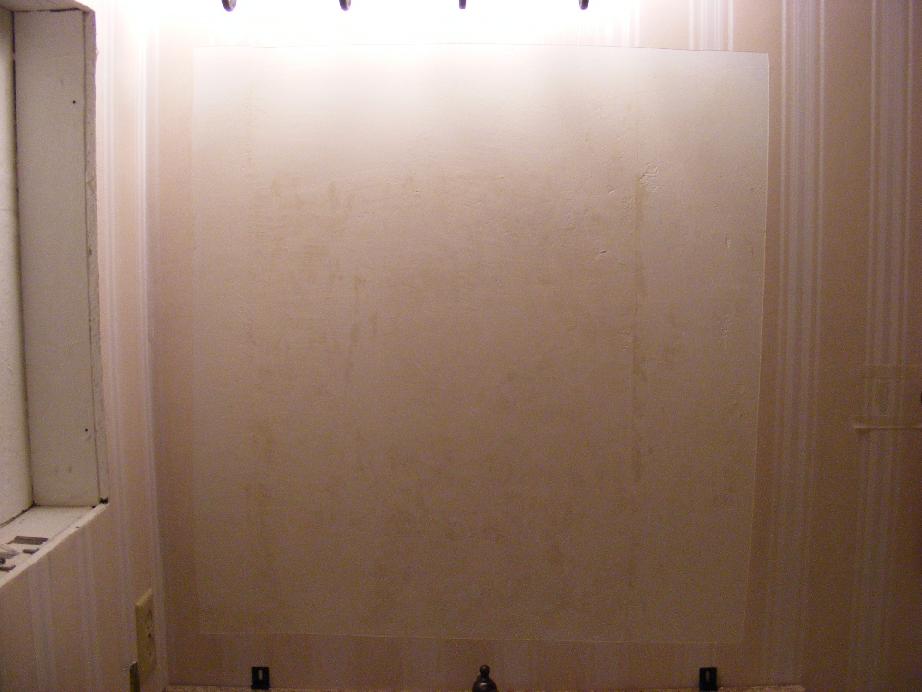
I also discovered that the wallpaper that I had so carefully hung had to come off. That was relatively easy since the wall had been properly primed with a product Shieldz that would allow for easy removal. Nonetheless it was difficult to make that first cut in the beautiful new wallpaper. I measured where the mirror would go so that the distance from the sides and top and bottom would be equal - 1/2" on each side and 1 1/2" on the top and bottom. I carefully cut a square section slightly smaller than the 3x3-foot mirror and pulled a small section of a corner from the wall. It was then easy to apply some water and remove the rest of the wallpaper in large sections.
The bottom chromed metal clips were painted with some spray paint metal primer that I had lying around and then with some polyurethane. The final color was close enough to the oil rubbed bronze faucets to pass and looked pretty darned good. I found a one stud that was approximately 4 1/2 inches from one side of the mirror and used it to mark the position of the bottom mirror holding clips. This was not where they were by the way making me wonder why they hadn't bothered to find at least one stud in the original installation. I marked the spots where the two plastic mirror holders would go at the top of the mirror. I found some nice screws and then screwed in each and measured the distance to verify that I had slightly more than three feet from top to bottom. The plastic mirror clips and screws were removed and placed near their final positions. The bottom metal mirror holders were left in place. I knew it was important to get this right the first time. You only get one shot at the mirror installation. Once in place it is there to stay. Even with the mastic still wet you risk breaking the mirror if you try to reposition the mirror and it will weaken the final bond.
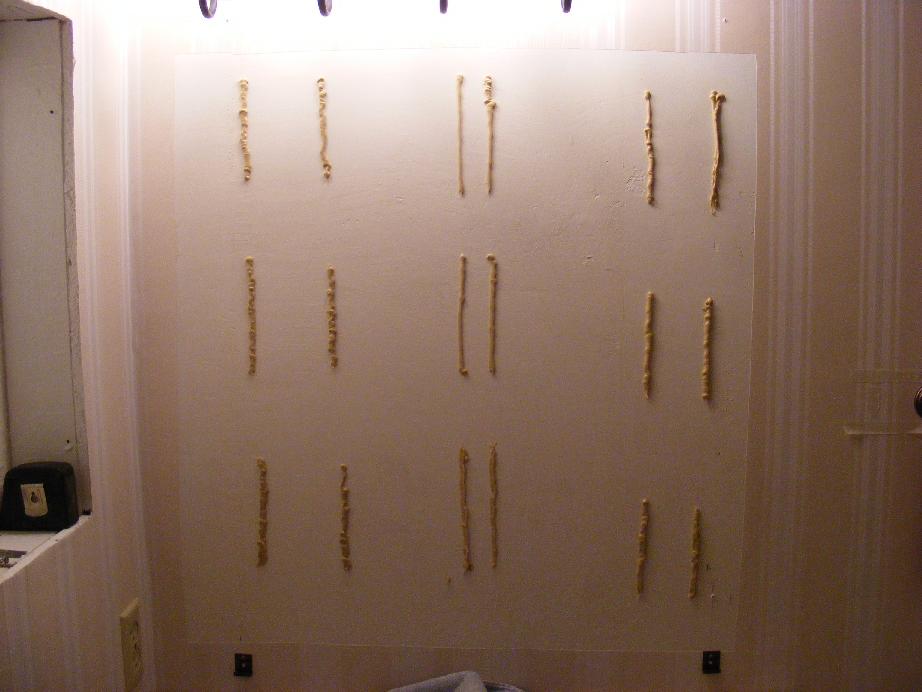
After allowing the wall to dry completely and convincing myself that I was ready for the install I followed the mirror mastic manufacturer instructions and applied two 6-inch vertical 1/4" wide beads for each square foot. I held the mirror at a slight angle from the wall and carefully placed the mirror into the bottom clips making sure I had 1/2' clearance on the left side from the wall. When I was sure all was right the mirror was pushed into place. With one hand still holding the mirror the two top clear plastic clips were screwed into place. A slight push against the mirror at all four corners and then in the center pushed the mirror into contact with the mastic.
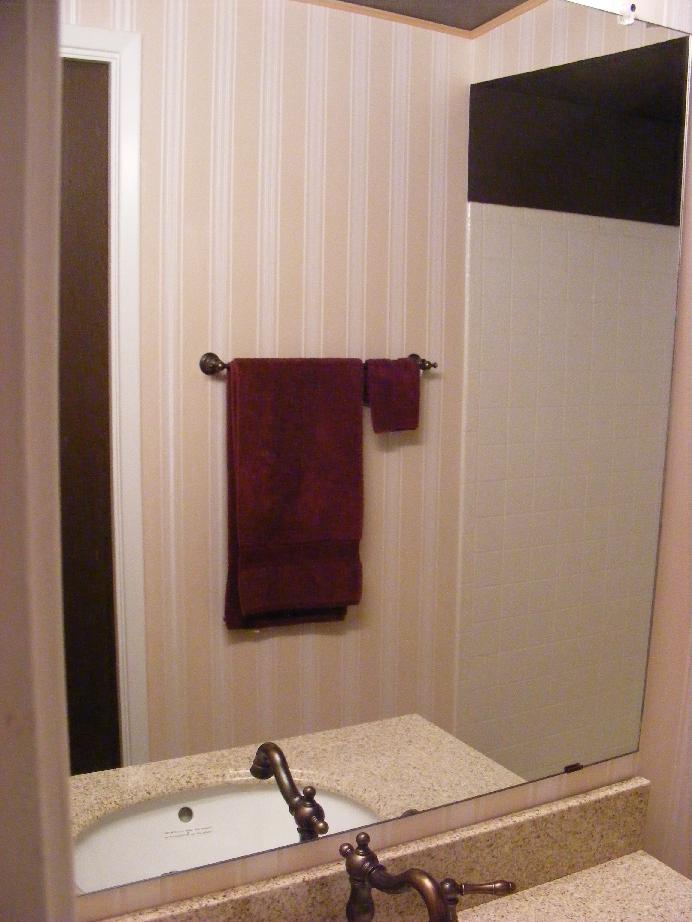
I could breathe again. I had removed and reinstalled a large mirror without breaking it or bodily injury.
Installation of a large mirror is not a simple project. If you don't feel up to it, it is a good idea to hire a professional.
| Mirror Mastic | Stanley | $5.49 Appx | Home Depot |
|
|
|
|
|
| Pecos SoftWareWorks Home | Contact Me | Terms of Use Rev 09/30/10 | Privacy Policy Rev 05/20/09 | About Us | Site Map |
| Tweet |
|
||
|
© Copyright 2007-2015 Alan Norton None of the content may be used or reproduced without written authorization from Alan Norton. |
|||